Refinishing Multi piece Wheels
Over time wheels get scruffed up, oxidized, and generally abused. With new wheels costing hundereds of dollars, cleaning up your old ones makes a lot of sense… plus it’s fun ;)
Check out the fifth episode of the Wheeler Dealers TV series (at around 1:00 minute in), for a great demo in basic wheel grinding.
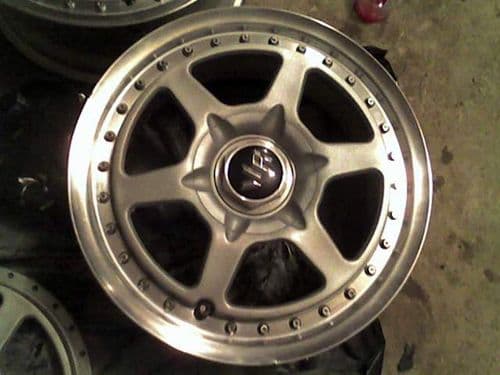
At the starting line…
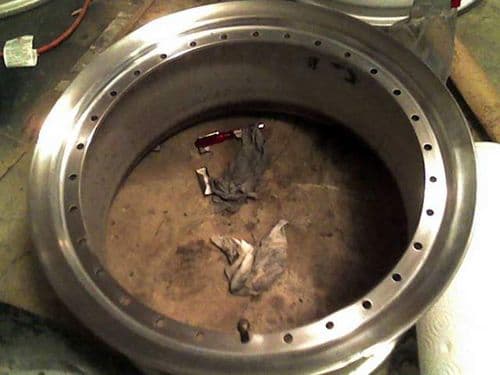
Lots of rust and other gunk caked in between and around the bolts.
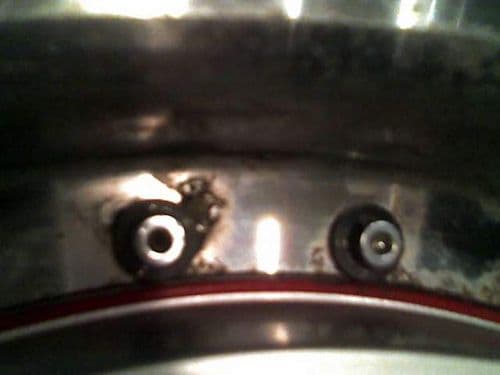
Oxidation UNDER the clear coat…
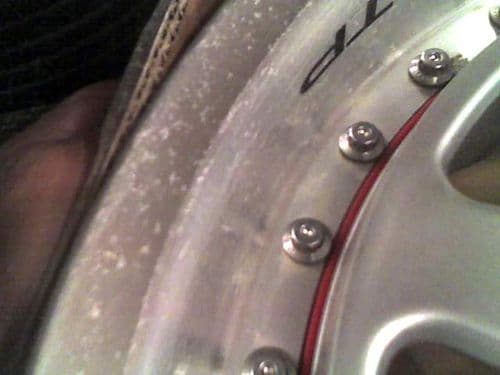
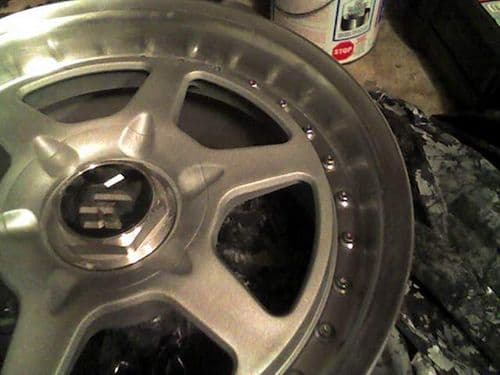
The centers also had several scratches in each of them. I tried simply painting over the scratches, and while I was lucky that the generic silver paint I had did match, you could still slightly tell that it was patched up.
First polishing attempt
I started trying to see if I could get the entire wheel polished, since the original powdercoating wasn’t worth keeping. I figured that would look pretty good. I got this far:
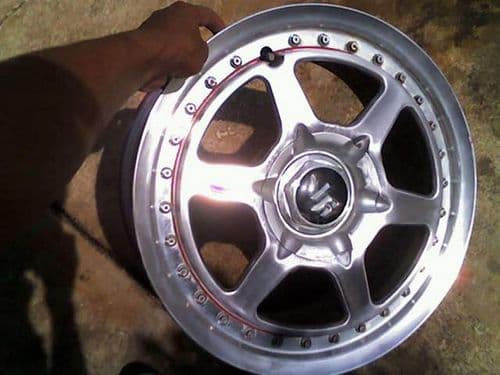
However, I ended up giving up since it seemed impossible to polish everything including the sides of the spokes and especially the center caps.
So, I ended up going with paint for the centers. I figure might as well try this, and if it doesnt work out, its relatively easy to get off (compared to powdercoat), and I would have it powdercoated (the the reason I just stated).
Taking the wheels apart
Taking the wheels apart was lots of fun… about 10 minutes per wheel. 29 bolts per wheel. I did it by turning the wheel face down, holding it with my legs (sitting on the ground), and using a breaker bar to loosen the nuts (10mm). I used a torque wrench on a few to see what the values were, and suprisingly, the hardest ones took barely 20 ft/lbs to break loose. Based on this, I think Im going to tighten them to about 10-12 ft/lbs, considering static friction (the force that holds them still after tightened) is sometimes as much as 2x greater than kinetic friction (the friction you face while you are turning it), not to mention the rust and dirt packed in the threads. I was suprised at the low values since I thought it with be closer to 75 or so, considering the fear of the bolts being fatigued from their first tightening. Then I would turn the wheel on its side, again holding it with my legs. I used a screwdriver-type socket kit with a 11/32 6-point socket (perfect fit on the heads of the volk bolts) to turn the bolts, while simply holding the nuts with my fingers on the other side. Only a few nuts out of all 4 wheels were stuck on there hard enough that I needed to hold them with the 10mm driver. I also wrote on the back of each center / rim combination a lable so I wouldnt mix them up, if it matters. They were F1 and F2 for the fronts, and R1 and R1 for the rears, and I also labled their corresponding bags of parts. Just a little note, each wheel had two thin black metal pieces on the back, that went around the edge, held on by I think 5 bolts each. The center is keyed so they can only go in one spot, but Im still not sure what the point of them is.
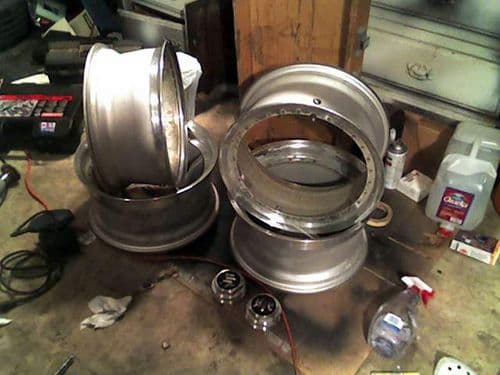
First coats of paint
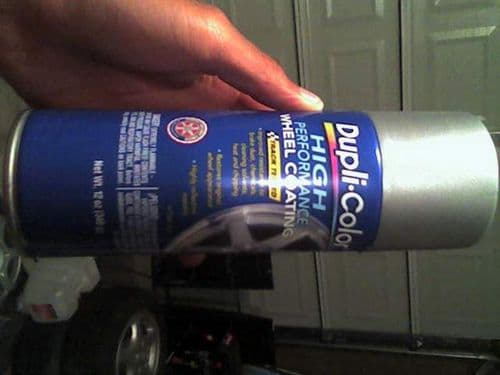
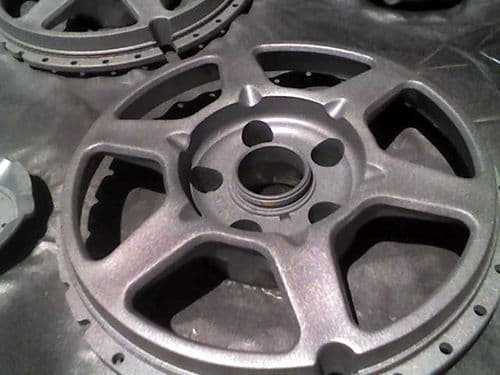
After getting them apart, I cleaned the centers (most of the powdercoating had already been sanded off from when I was trying to polish them), and set them out. I started with some Duplicolor wheel paint. I used this and it worked very nicely:
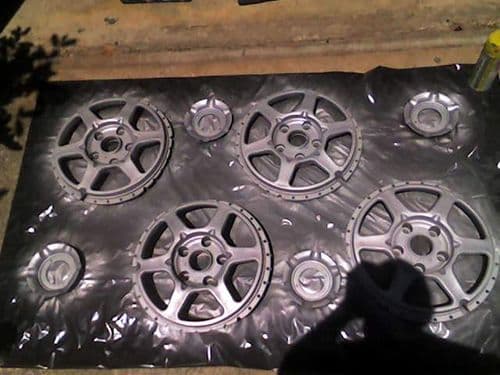
After a few coats it started to look pretty nice. Has lots of depth to it.
Polish the lips
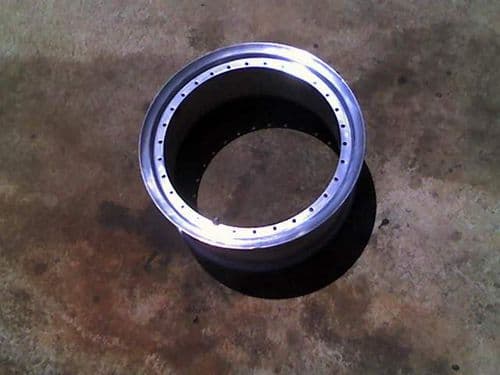
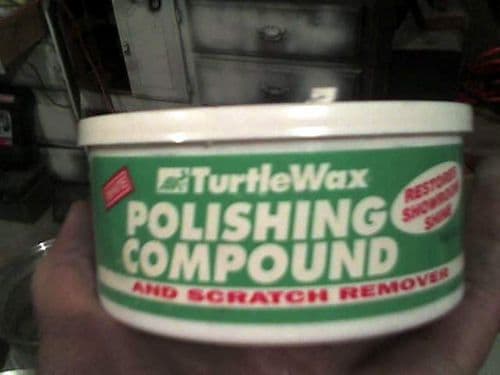
While I was waiting between coats, I spent a little time (probably 15 minutes for this rim) polishing up one of the lips. I started with 220 (on an orbital sander… I may be a little impatient I know) to get the clearcoat / rust / grime off. Then I went to 600, and then wetsanded with 1000 and 1500. Wetsanding is awesome! From my experience, at least on metal, it keeps the material from sticking in the sandpaper, so it lasts much longer and you dont have to change spots on the paper every few seconds, so you can go much faster and more evenly. It also seemed to lubricate it some to make it even smoother. After the wetsanding, I dried it and used some Turtle Wax polishing compound with some paper towels (comes as a sort of putty-like stuff thats in a tub that you dab into). While it isnt specifically for metal, it has worked fine for me before. After a few go-arounds with that, I got this:
On to clearcoat
Anyways, after a few light coats of silver, then a few more medium-ish coats of the same silver, I started with the clearcoat.
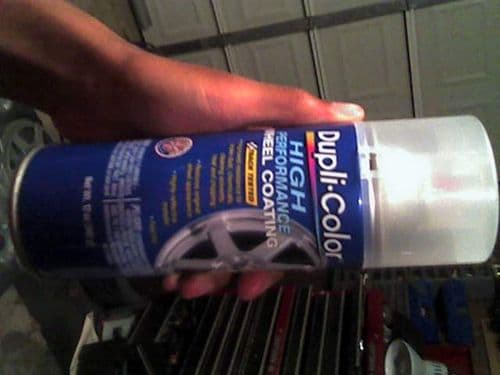
I’ve done about 4 coats of clearcoat so far. I’m gonna go ahead and empty the can of clearcoat just for durability (been doing a bunch of thin coats).
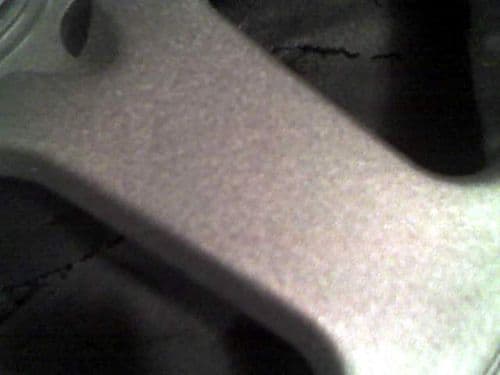
Last round with polishing
I ran out the last of the clearcoat. I started working on the rims some more. I did the second rim again with 220 - 600 - 1000 - 1500 - polishing compound.
Polish the rims
I started to clearcoat the lip, but as I finished the two wheels up, I decided against it, and hurried to wipe it off. It had already started to dry, and would barely come off, even with my fingernail. In a panic, thinking that I would regret such a permanent move in the near future, I grabbed some steel wool, which I believe was Fine (00. The finest is 0000, and the scale goes from 0000 to 0 and 1-4). As I scrubbed on the rims, I noticed that it was actually shinier than it had been with the polishing compound. Relieved that I had got the still wet clearcoat off, I looked through a drawer and found some 0000 steel wool. It feels similar to a black baby’s hair (soft and curly ). While it is relatively soft and smooth for something made of steel, it actually does quite a good job at both smoothing an already smooth surface, and removing minor scratches. I was amazed at how much better it shined. Now it is about half way between completely polished and simply brushed. Its reflective enough that I could see the color of my shirt in its reflection, whereas before you could barely notice your silhouette in its reflection, unless a light was behind (or above) you. Still, its not completely blinged out, which is fine with me.
Quick progress check
Out of curiosity, I decided to do a rough mounting of the centers to see what it would look like. I had already put all the center caps back in, just for grins. I put it back together with just a few hand-tightened bolts, enough to center and stabilize it in the rim. The clearcoat really smoothed out the spokes on the centers, and it looks very nice IMO when contrasted to the shiny lip. Looks like they came that way from Rays!
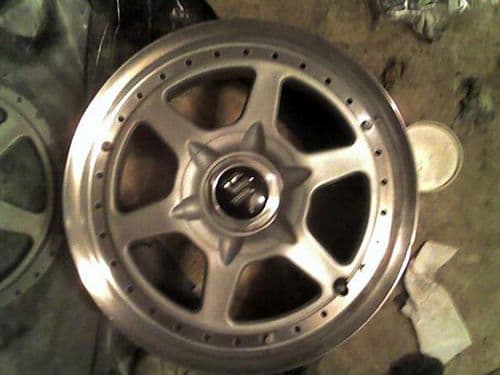
Here you can see a better view of the spokes and lip, keep in mind this is the front wheel (shallow lip):
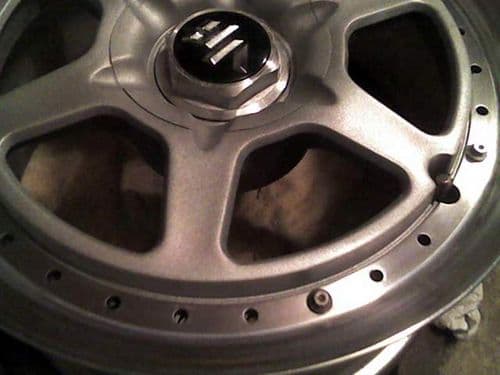
A little more with the steel wool and I have the lips at a somewhat mirror finish, just how I want them. Not so shiny that you can see every little spec of dust, but smooth enough to look intentional. On the two rear lips in polishing them I just went 220 on the orbital sander for the clear coat, then 600 > 1500 > steel wool. Really speeds up the process skipping the 1000 and polishing compound, plus you dont have to go as hard with the 1500 since the steel wool does alot of it.
On to the bolts
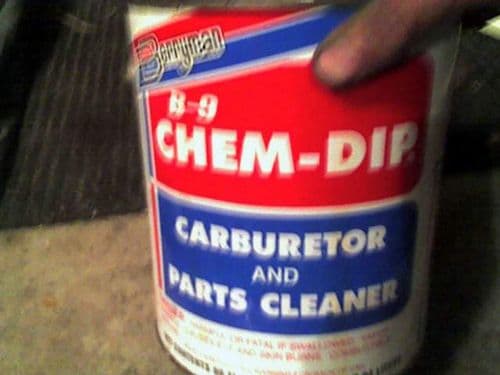
The bolts were all dirty, and like in the first pic, some had rust on them. I found an old can of Chem Dip that we’ve had for who knows how long, and decided it was worth a try.
After using the ChemDip, my fingers became somewhat numb / stinging, and they were very dry. I also found that it can cause cancer and is simply bad for you in general. Between that and the constant sanding, I have found that much of my fingerprints have been smoothed down to almost non-existance. It is a very odd feeling, and even feels wierd to type this.
It already had a little dipping basket, so I dumped my bag of bolts into that basket and let it sit in the dip. I turned the rim upside down and carefully set the center inside the rim. I took out the basket, and probably 20/29 of the bolts were already perfectly clean; the dip quickly dissolved all of the grime and such. The rest of them just had a little surface rust, and the chem dip had loosened it up enough for me to take that same pad of steel wool and twist it around the bolt head a few times to get them clean. So I would put them in one at a time, cleaning them as necessary, until I got all of them in the rim, finger tight.
Putting it all together
After doing all of the wheels like this, I went back, and with a small ratchet, tightened each nut enough so that the bolt wouldn’t slip when torqueing. This made the process much easier, as I quickly found that with the nuts only finger tight, it took around 3 turns of the big torque wrench to get the correct value, and it was quite annoying. With them already somewhat tight, it only took about 1/4-1/2 a turn to get the correct value (about 12 ft/lbs). Also, with this method, I never had to touch the bolt heads with a tool (except one that was too rusted for me to hold with my fingers and pre-tighten), which meant I didnt have to worry about stripping the bolt heads or find an 8mm 12pt socket somewhere. Torquing them down was simple, and I just went back and forth accross the rim until they were all done.
